Key takeaways
- Pea-sized dot: The most reliable method for most CPUs; a single pea-sized blob in the center spreads evenly under mounting pressure.
- Spread manually: Using a spatula or a roller applicator gives an even, thin layer and works well on large or rectangular heat spreaders where a dot may not cover corners.
- Multiple dots: On big CPUs, a few small dots or a thin line can ensure full coverage; avoid overthinking it, as pressure does the spreading.
Thermal paste is the thin layer that bridges microscopic gaps between your CPU and its cooler, and applying it correctly is one of the most important steps in a build. Too little and heat cannot transfer; too much and you insulate rather than conduct. Get it right, though, and a good paste like Thermal Grizzly Kryonaut or Noctua NT-H2 keeps a modern CPU several degrees cooler than a sloppy application, directly protecting your clock speeds.
This guide explains how to clean the old paste, choose an application method, apply the right amount, and mount the cooler without air pockets. We will keep it beginner-safe and cover the small extras, cleaning wipes, spreaders, and roller applicators, that make the job cleaner and more consistent, so you can repaste with confidence rather than anxiety.
Our top picks


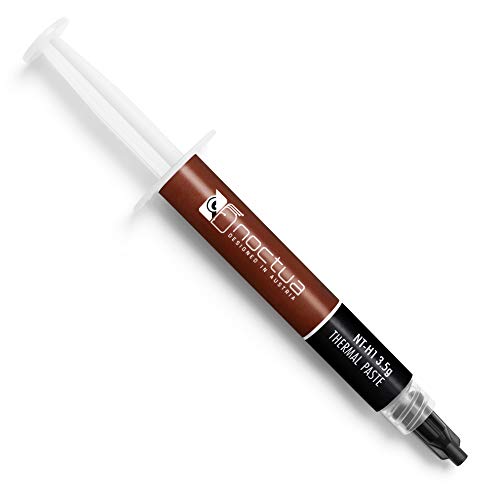


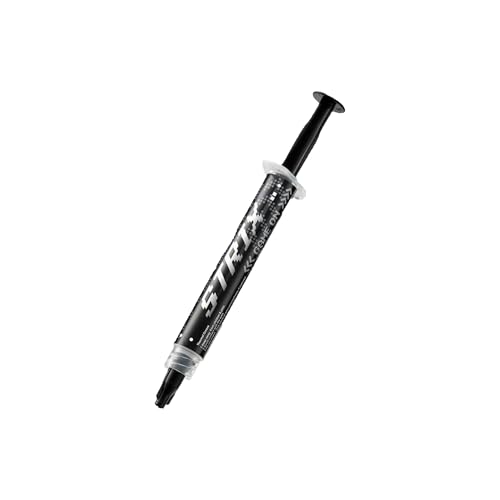
As an Amazon Associate we earn from qualifying purchases at no extra cost to you. Ratings are shown as listed on Amazon.
⚡ Save on Your Next PC — Amazon Prime
Prime members get fast free shipping on the systems above, plus early access to Prime Day & Black Friday PC deals. New members get a 30-day free trial.
Watch: How to Apply Thermal Paste Correctly — Video Review
Clean the Old Paste First
If you are repasting, remove every trace of the old compound. Wipe the CPU heat spreader and cooler base with a lint-free cloth or the cleaning wipes bundled with kits like Noctua NT-H1 SW Edition, using isopropyl alcohol for stubborn residue. A clean, dry surface is essential; leftover crust creates gaps that ruin heat transfer no matter how good the new paste is.
Choose Your Application Method
- Pea-sized dot: The most reliable method for most CPUs; a single pea-sized blob in the center spreads evenly under mounting pressure.
- Spread manually: Using a spatula or a roller applicator gives an even, thin layer and works well on large or rectangular heat spreaders where a dot may not cover corners.
- Multiple dots: On big CPUs, a few small dots or a thin line can ensure full coverage; avoid overthinking it, as pressure does the spreading.
Apply the Right Amount
Less is more, but not too little. A pea-sized amount suits most mainstream CPUs, while very large heat spreaders may want slightly more. High-performance pastes like Kryonaut or Noctua NT-H2 have excellent conductivity, so you do not need to slather it on. The goal is a thin, complete layer once the cooler presses down, with no excess squeezing over the edges.
Mount the Cooler Evenly
Lower the cooler straight down onto the paste without sliding it, which would smear and trap air. Then tighten the mounting screws in a diagonal, cross pattern, a little at a time, so pressure is even across the die. This uniform pressure is what spreads the paste into a perfect thin layer and eliminates air pockets that cause hot spots.
Verify Your Results
Boot up and stress-test the CPU while watching temperatures. A good application shows stable, reasonable load temps, often well below the throttle point. If temperatures are unexpectedly high, the paste may be too thin, uneven, or the cooler unevenly mounted, so it is worth remounting. When done right, you should not need to touch it again for a couple of years.
Tips
- Never reuse old paste: Always clean and reapply fresh compound when reseating a cooler; disturbed paste no longer seals properly.
- Use isopropyl for cleanup: High-purity isopropyl alcohol and a lint-free wipe remove residue without leaving fibers or moisture.
- Do not overtighten instantly: Tighten screws gradually in a cross pattern so pressure builds evenly across the CPU.
- Keep a roller or spatula handy: For thick or sticky pastes, a roller applicator gives a consistent thin layer that is hard to achieve freehand.
Frequently Asked Questions
How much thermal paste should I use?
For most CPUs, a pea-sized amount in the center is ideal. It spreads to a thin, complete layer under cooler pressure. Very large heat spreaders may need slightly more.
Should I spread thermal paste or use a dot?
Both work. The pea-sized dot is easiest and reliable for most CPUs, while manual spreading with a spatula or roller ensures full coverage on large or rectangular chips.
How often should I replace thermal paste?
Every two to three years is a good interval, or whenever you remove the cooler. Older paste dries out and loses conductivity, causing temperatures to creep up.
Can too much thermal paste cause problems?
Yes. Excess paste can insulate rather than conduct and may ooze onto the socket. A thin, complete layer transfers heat best, so avoid overapplying.
Conclusion
Applying thermal paste well is simple once you know the rules: clean the surfaces thoroughly, use a pea-sized amount or an even spread, mount the cooler straight down, and tighten evenly in a cross pattern. Quality pastes like Kryonaut or Noctua NT-H2 do the rest. Verify with a stress test, and you will lock in cooler, quieter, throttle-free performance for years.