Key takeaways
- Screw method: Press the raised end flat and secure it with the small M.2 screw into the correct standoff. If yours is missing, kits like the ASTARON or 46-piece NVMe screw sets have the exact hardware.
- Tool-less latch: Many 2026 boards use a flip latch or push-pin, so you just click it into place with no screwdriver.
- Standoff position: Ensure the standoff sits under the correct length marking (usually 2280) so the drive lies flat and level.
Installing an M.2 NVMe SSD is one of the most satisfying upgrades you can do, delivering a huge jump in load times and file transfers in about ten minutes with a single screw. A modern drive like the Samsung 990 PRO reads at up to 7,450 MB/s, and PCIe 5.0 monsters like the WD_Black SN8100 push toward 14,900 MB/s, speeds that make older SATA SSDs feel ancient. The install itself is genuinely beginner-friendly.
This guide walks through the entire process: choosing the right M.2 slot, seating the drive at the correct angle, securing it with the tiny screw (or tool-less latch), and initializing it in Windows so it actually shows up. We will also cover heatsinks and the small M.2 screw kits that save you when your motherboard did not include the right hardware.
Our top picks
 Samsung SSD 990 PRO 2TB
Sequential speeds up to 7450 MB/s suit heavy workloads
Improved random performance aids faster everyday load times
Compact M.2 2280 form factor fits most modern motherboards
Requires a PCIe 4.0 slot to reach full speed
Capacity tops out lower than some rival 4TB drives
 ASTARON M.2 SSD Screws Kit
- 【Widely Compatible】- The kit is compatible with various…
- 【NVMe SSD Quantity】-Studs of different heights*8、Screws*8,Black Carabiner*2, Magnetic…
- 【Magnetic screwdriver】-Since M2 screws are too small, we…
 46PCS NVME M.2 SSD Mounting Screws M.2
- 【M.2 computer screw】:easy installation with motherboard screw,standoff to…
- 【Ssd screw with screwdriver】:magnetic screwdriver prevent tiny screw,standoff…
- 【Durable material】:computer screw,standoff and screwdriver are made of…
| Product | Key specs | |
|---|---|---|
| Samsung SSD 990 PRO 2TB | Check price | |
| ASTARON M.2 SSD Screws Kit | 【Widely Compatible】- The kit is compatible with various… 【NVMe SSD Quantity】-Studs of different heights*8、Screws*8,Black Carabiner*2, Magnetic… 【Magnetic screwdriver】-Since M2 screws are too small, we… | Check price |
| 46PCS NVME M.2 SSD Mounting Screws M.2 | 【M.2 computer screw】:easy installation with motherboard screw,standoff to… 【Ssd screw with screwdriver】:magnetic screwdriver prevent tiny screw,standoff… 【Durable material】:computer screw,standoff and screwdriver are made of… | Check price |
 SANDISK 500GB Optimus 5100 NVMe SSD SANDISK 500GB Optimus 5100 NVMe SSD | SPEED UP PROJECTS CREATE AND STORE MORE IT GOES WHERE YOU GO | Check price |
 WD_Black SN8100 2TB NVMe SSD WD_Black SN8100 2TB NVMe SSD | This product has been replaced by our latest… EXPERIENCE PCIe Gen 5: Drastically enhance your gaming… Your drive reaches sequential read speeds up to… | Check price |
 SIX NVME M.2 SSD PCIe 4.0-1TB m.2 SIX NVME M.2 SSD PCIe 4.0-1TB m.2 | Unleash Upgraded power - Employing PCIe Gen4x4 High… Work and Play - Whether you pursue science… Match ur Next-level M.2 SSD - Compatibility ready… | Check price |
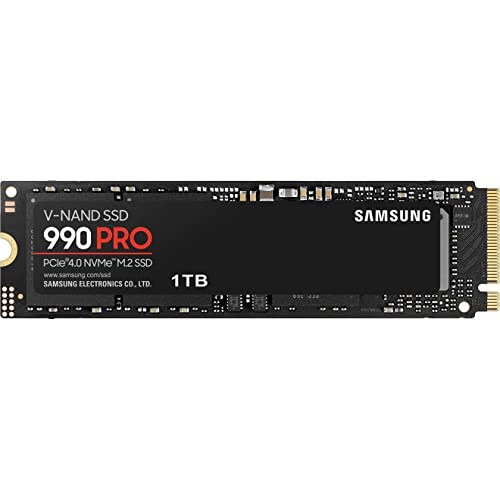 Samsung SSD 990 PRO 1TB Samsung SSD 990 PRO 1TB | Get random read/write speeds that are 40%/55% faster… Use less power and get more performance Samsung's own nickel-coated controller delivers effective thermal control | Check price |
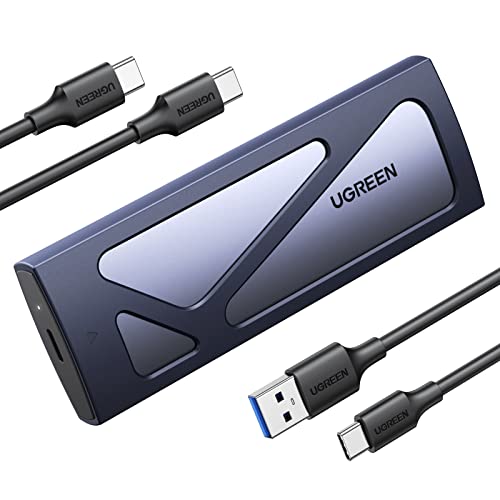 UGREEN SSD Enclosure Tool-Free USB C External UGREEN SSD Enclosure Tool-Free USB C External | 10Gbps NVMe Enclosure: With the latest USB 3.2… Tool-free SSD Enclosure: Tool-free NVMe SSD enclosure for… Broad Compatibility: The UGREEN M.2 NVMe SSD enclosure… | Check price |
As an Amazon Associate we earn from qualifying purchases at no extra cost to you.
⚡ Save on Your Next PC — Amazon Prime
Prime members get fast free shipping on the systems above, plus early access to Prime Day & Black Friday PC deals. New members get a 30-day free trial.
Watch: How to Install an M.2 NVMe SSD — Video Review
Choose the Right M.2 Slot
Most modern boards have multiple M.2 slots, but they are not equal. The top slot is usually wired directly to the CPU with the most PCIe lanes, making it the fastest and the right home for your primary drive like a Samsung 990 PRO. Check your manual, because populating some slots can disable SATA ports or share bandwidth. For a PCIe 5.0 drive, use the slot rated for Gen 5.
Insert the Drive at an Angle
Power down and unplug the PC. Remove the M.2 heatsink cover if present. Slide the SSD into the slot at roughly a 30-degree angle, gold contacts fully seated so only the notch shows. The drive will naturally sit raised at the far end; that is normal until you screw it down. Never force it, and mind the notch keying so it only fits one way.
Secure It Properly
- Screw method: Press the raised end flat and secure it with the small M.2 screw into the correct standoff. If yours is missing, kits like the ASTARON or 46-piece NVMe screw sets have the exact hardware.
- Tool-less latch: Many 2026 boards use a flip latch or push-pin, so you just click it into place with no screwdriver.
- Standoff position: Ensure the standoff sits under the correct length marking (usually 2280) so the drive lies flat and level.
Add the Heatsink
High-speed Gen 4 and Gen 5 drives get hot and will thermally throttle without cooling. Use the motherboard’s built-in M.2 heatsink, peeling the thermal pad’s plastic film first. For drives in a slot without a heatsink, an aftermarket one keeps sustained transfers fast. This step matters most for PCIe 5.0 drives like the SN8100 that run warm under load.
Initialize in Windows
Boot up and, if the drive is new and empty, it will not appear in File Explorer yet. Right-click the Start button, open Disk Management, and Windows will prompt you to initialize the disk (choose GPT). Then create a new simple volume and format it. If you are cloning your OS to it, use migration software before swapping the boot drive in BIOS.
Tips
- Keep the tiny screw safe: M.2 screws are easy to lose; a spare screw kit is cheap insurance against a lost one halting your install.
- Use the CPU-linked slot for your boot drive: It offers the most bandwidth and best performance for your primary NVMe SSD.
- Do not overtighten: The screw only needs to be snug; forcing it can crack the PCB or strip the standoff.
- Leave the thermal pad film on the wrong side: Peel only the side that contacts the drive, and remove any plastic between the pad and heatsink.
Frequently Asked Questions
Why doesn’t my new M.2 SSD show up in Windows?
A brand-new drive is uninitialized. Open Disk Management, initialize it as GPT, then create and format a volume. It will then appear in File Explorer ready to use.
Do I need a heatsink for an M.2 SSD?
For fast Gen 4 and Gen 5 drives, yes, to avoid thermal throttling during long transfers. Most boards include one; use it or add an aftermarket heatsink.
Which M.2 slot should I use?
The top slot wired to the CPU is usually fastest and best for your boot drive. Check the manual, as some slots share bandwidth with SATA ports.
Can I install an M.2 SSD without a screw?
If your board has a tool-less latch, yes. Otherwise you need the small M.2 mounting screw, which a cheap screw kit provides if yours did not come with one.
Conclusion
Installing an M.2 NVMe SSD is a quick, low-risk upgrade with an outsized payoff in speed. Pick the CPU-linked slot, seat the drive at an angle, secure it with the screw or latch, fit a heatsink, and initialize it in Windows. Ten minutes of work turns a sluggish system into one that boots and loads almost instantly, and it is hard to go back.