Key takeaways
- Unplug the keyboard first, then turn it upside down and gently shake or tap it to release crumbs and loose dust trapped between the keys.
- Use short bursts of compressed air across the whole board, working in rows to blow debris out from under the keycaps.
- Wipe the keycaps and case with a lightly dampened microfiber cloth to lift fingerprints and surface oils without soaking anything.
- A brief clean like this once a week keeps buildup from ever becoming the kind of grime that needs a full teardown.
A mechanical keyboard is built to last for years, but only if you keep it clean. Crumbs, dust, skin oils, and the occasional coffee splash all work their way beneath the keycaps, where they dull the feel of your switches, cause keys to stick or double-type, and slowly turn a crisp, satisfying board into a mushy one. The good news is that a mechanical keyboard is one of the easiest pieces of gear to maintain, precisely because its keycaps come off.
This guide walks you through cleaning your mechanical keyboard safely, from a quick weekly tidy to a full deep clean that makes it feel new again. You will learn which tools to use, how to remove and wash keycaps without damage, how to handle spills, and how to keep grime from building up in the first place. If you are shopping for a durable, easy-to-maintain board while you are at it, the mechanical keyboards below are dependable picks worth considering.
Related guide: Best webcams under 100
Our top picks
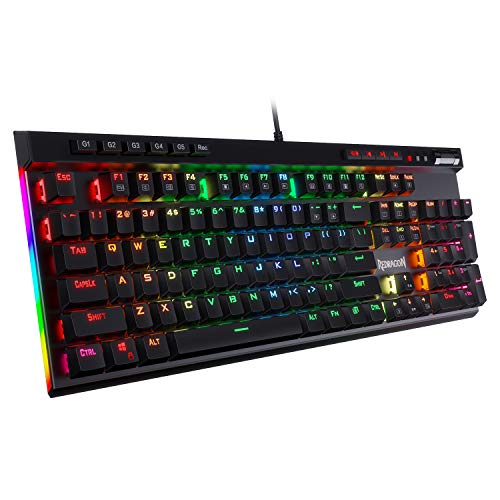
 Redragon Mechanical Gaming Keyboard Wired
- Product Group: Personal Computer
- Binding: Personal Computers

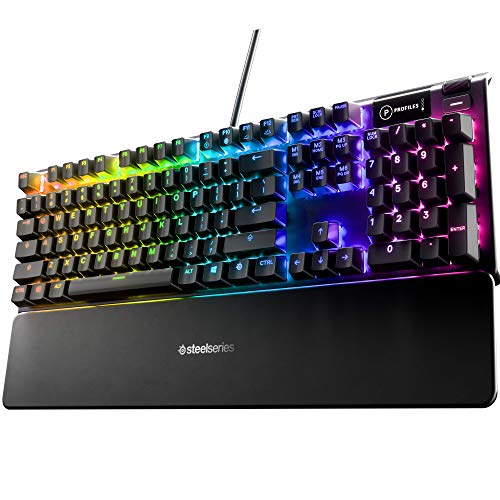
 Logitech G213 Prodigy Wired RGB Gaming Keyboard
- Product Group: Personal Computer
- Binding: Personal Computers

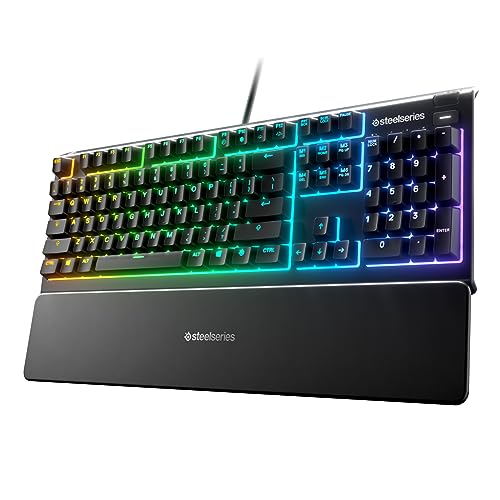
 Logitech G413 SE Full-Size Mechanical Gaming Keyboard
- Product Group: Personal Computer
- Binding: Personal Computers
As an Amazon Associate we earn from qualifying purchases at no extra cost to you. Ratings are shown as listed on Amazon.
⚡ Save on Your Next PC — Amazon Prime
Prime members get fast free shipping on the systems above, plus early access to Prime Day & Black Friday PC deals. New members get a 30-day free trial.
Watch: How to Clean a Mechanical Keyboard — Video Review
Gather the Right Tools First
Cleaning goes smoothly when you prepare before you start rather than improvising halfway through. The essentials are simple and cheap: a keycap puller to lift caps without bending them, a can of compressed air or a small blower to dislodge loose debris, a soft brush for the tight spaces between switches, and a microfiber cloth. For deeper grime, isopropyl alcohol of 70 percent or higher and a few cotton swabs let you dissolve oils without leaving residue. Keep a bowl of mild soapy water on hand if you plan to wash the keycaps. Boards with hot-swappable switches or double-shot PBT keycaps, like several of the recommended models above, are especially forgiving to clean because their caps are tough and their switches easy to access.
Do a Quick Regular Clean
- Unplug the keyboard first, then turn it upside down and gently shake or tap it to release crumbs and loose dust trapped between the keys.
- Use short bursts of compressed air across the whole board, working in rows to blow debris out from under the keycaps.
- Wipe the keycaps and case with a lightly dampened microfiber cloth to lift fingerprints and surface oils without soaking anything.
- A brief clean like this once a week keeps buildup from ever becoming the kind of grime that needs a full teardown.
Perform a Full Deep Clean
Every few months, or whenever keys start feeling sticky, give the board a proper deep clean. Unplug it, then photograph the layout so you know where each key returns, and use the puller to remove every keycap. Soak the caps in mild soapy water for a couple of hours, agitate gently, rinse, and lay them out on a towel to dry completely, which can take several hours. While the caps dry, blow out the bare board with compressed air, then use cotton swabs dipped in isopropyl alcohol to clean around the switches and lift stubborn oil from the plate. Only reinstall the keycaps once they are fully dry, because trapped moisture can interfere with the switches.
Handle Spills Quickly and Safely
A liquid spill is the one situation where speed truly matters, because moisture reaching the circuitry can cause lasting damage. The instant something spills, unplug the keyboard and flip it upside down to let the liquid drain away from the internals rather than pool inside. Blot the surface with a cloth, remove the keycaps, and wipe down anything the liquid touched. If it was a sugary or sticky drink, clean the affected switch areas with isopropyl alcohol on a swab, since dried sugar is what actually causes keys to stick later. Then leave the board upside down to air dry for a full day or more before plugging it back in, and resist the urge to test it early.
Prevent Grime From Building Up
The easiest keyboard to clean is one that never gets very dirty, and a few habits keep yours that way. Avoid eating directly over the board, since crumbs are the number one cause of buildup, and keep drinks off to the side where a knock cannot send them across the keys. Washing your hands before long sessions cuts down on the skin oils that darken keycaps over time. A slim dust cover placed over the keyboard when it is idle keeps airborne dust out, and running a quick compressed-air pass every week stops debris from ever settling in. Small routines like these mean your deep cleans stay rare and your board keeps feeling crisp.
Tips
- Always unplug the keyboard before cleaning, and never use excessive liquid directly on the board itself.
- Photograph your key layout before pulling caps, so reassembly is quick and you never second-guess where a key belongs.
- Let keycaps dry completely before reinstalling them, since even slight trapped moisture can cause switch issues.
- Use isopropyl alcohol rather than water on switch areas, because it cleans oils effectively and evaporates without leaving residue.
Frequently Asked Questions
How often should I clean my mechanical keyboard?
A light surface clean once a week with compressed air and a wipe keeps most buildup at bay. Plan a full deep clean with the keycaps removed every few months, or sooner if you notice keys sticking, feeling gritty, or the board looking visibly grimy from daily use.
Can I wash mechanical keyboard keycaps in water?
Yes, the keycaps themselves are safe to soak in mild soapy water once removed from the board. Just never submerge the keyboard base or switches. Rinse the caps well and let them dry completely, which can take several hours, before reinstalling them to avoid trapping any moisture.
What should I do if I spill liquid on my keyboard?
Act fast: unplug it immediately and turn it upside down so the liquid drains out rather than seeping in. Remove the keycaps, wipe everything down, and clean sticky residue with isopropyl alcohol. Then let the board air dry upside down for at least a full day before plugging it back in.
Is isopropyl alcohol safe on keycaps and switches?
Yes, isopropyl alcohol of 70 percent or higher is ideal for cleaning around switches and lifting oils, because it evaporates quickly without residue. Use it on a swab or cloth rather than pouring it, and it is gentle on keycaps, though you should avoid soaking legends printed on cheaper caps.
Conclusion
Keeping a mechanical keyboard clean is simple and pays off in feel and longevity. A quick weekly pass with compressed air and a cloth prevents most grime, while a full deep clean every few months, with the keycaps washed and the switches wiped with alcohol, restores that crisp new-board response. Move fast on spills, build a few tidy habits, and let everything dry fully before reassembly. Do that and your keyboard will stay satisfying to type on for years.